Behind
the Scenes
of Watch
Photography
Peek behind the scenes of how I photographed some luxury and vintage watches.
Peek behind the scenes of how I photographed some luxury and vintage watches.
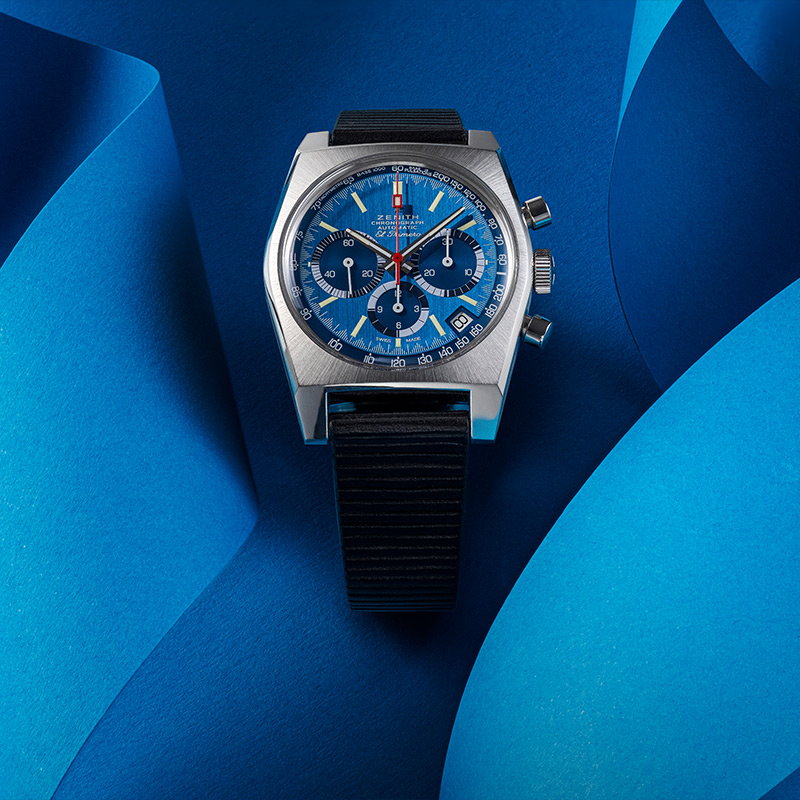
Photographing Zenith El Primero chronograph on an art paper background is a quick way to create a unique real-life scene without using artificial background. Focus-stacked image, but can be done without compositing.
Continue reading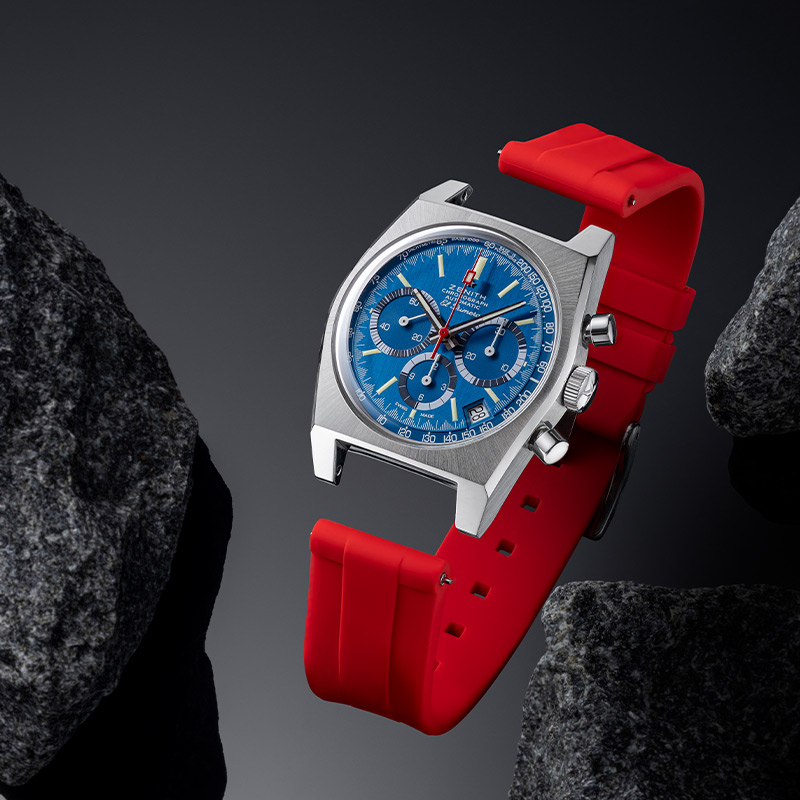
Wisstraps asked me to shoot a more creative photos of their rubber straps. So I took it seriously!
Continue reading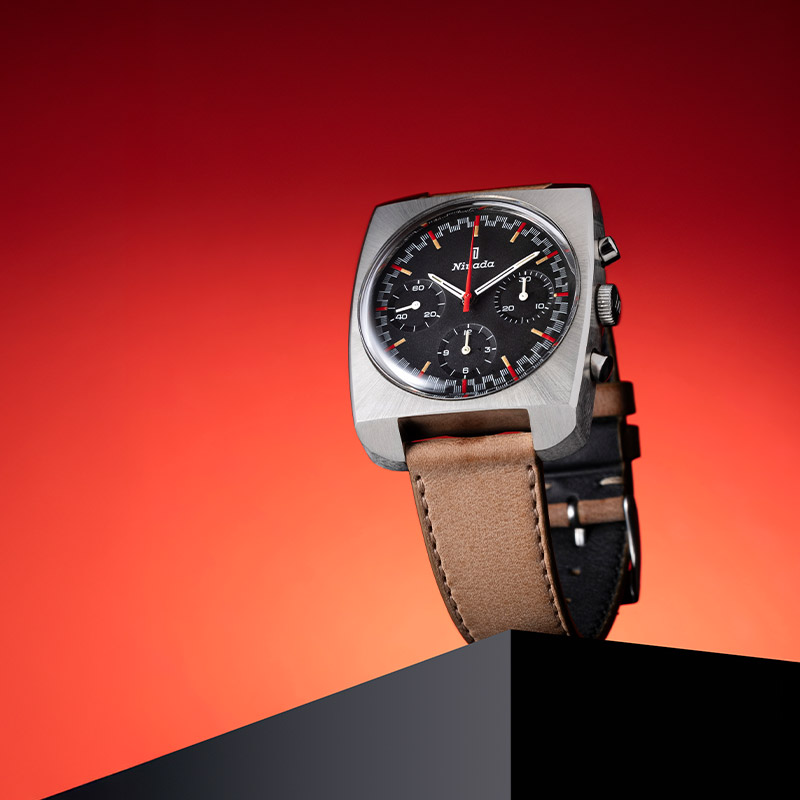
This is called an exotic racing dial. Exotic because of red and also rarity. Racing because of the flag pattern. Nivada made approximately 20 of these in the 1970s. Gorgeous watch to shoot.
Continue reading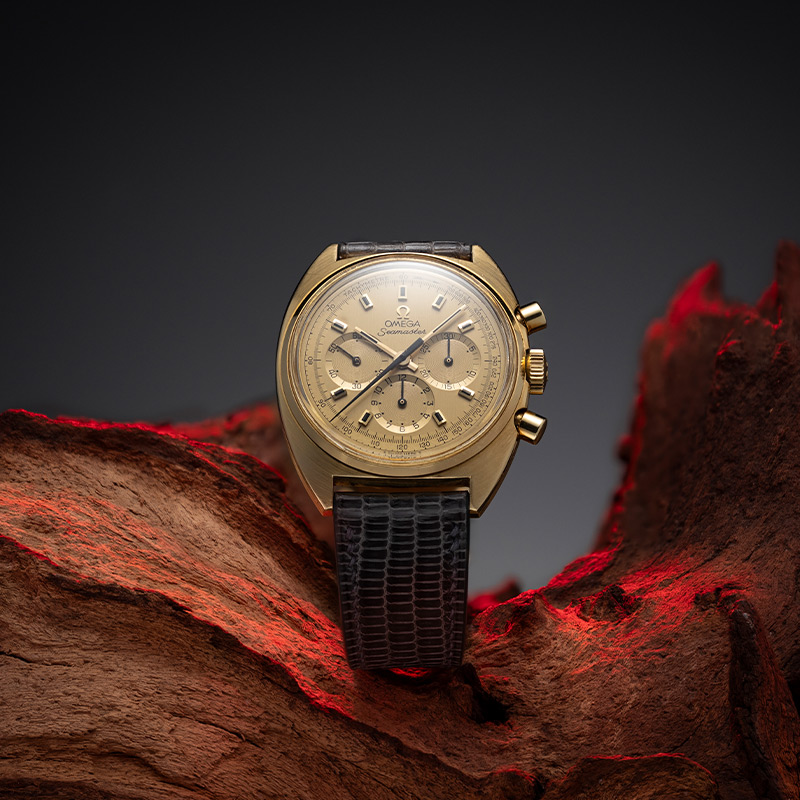
Behind the scenes with the Omega Seamaster 145.016 chronograph in 18k yellow gold. This photo was made of 2x70 photos using focus stacking technique and compositing the light.
Continue reading