Designing with Light: composite shot of the Zenith El Primero A3818
Studio Setup
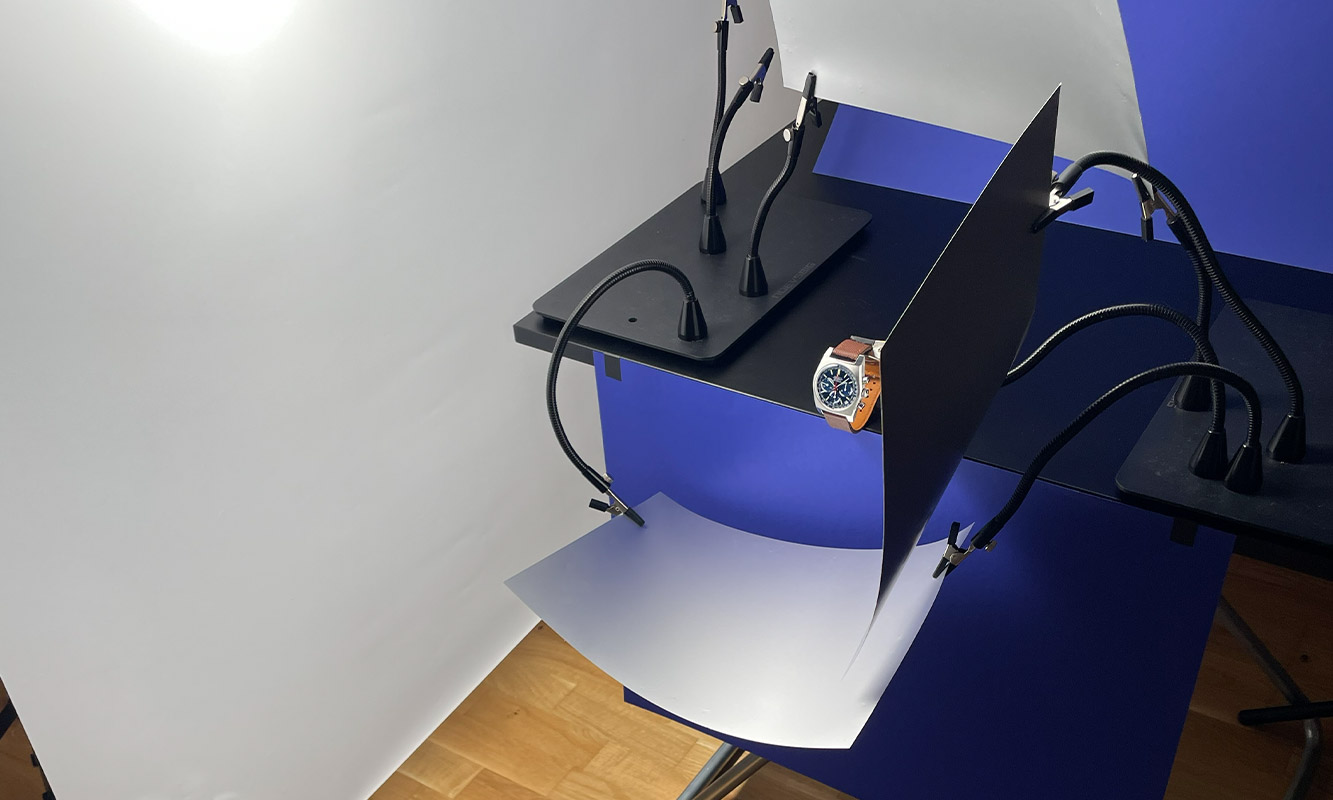
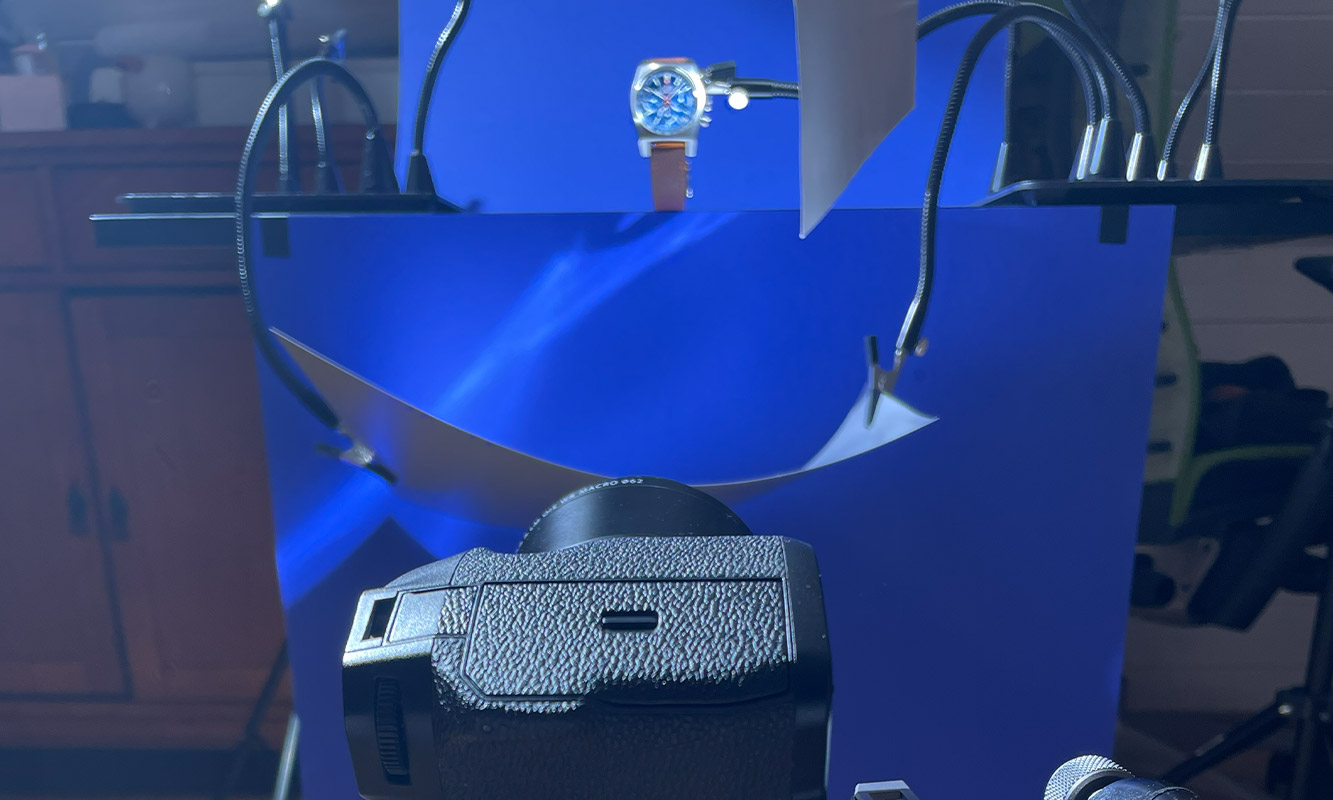
After visualizing the shot in my mind, I set up my studio. I used a Fujifilm X-H2 camera with an 80mm macro lens, illuminated by an Aputure 120W LED light. To shape the lighting, I added a Lee white diffusion sheet, silver paper reflectors, and blue paper as both the foreground and background. I also incorporated mirror paper, a table, tripod, “helping hands” clamps, and light stands to support the diffusion sheet and lighting setup.
Using Both Harsh and Soft Light
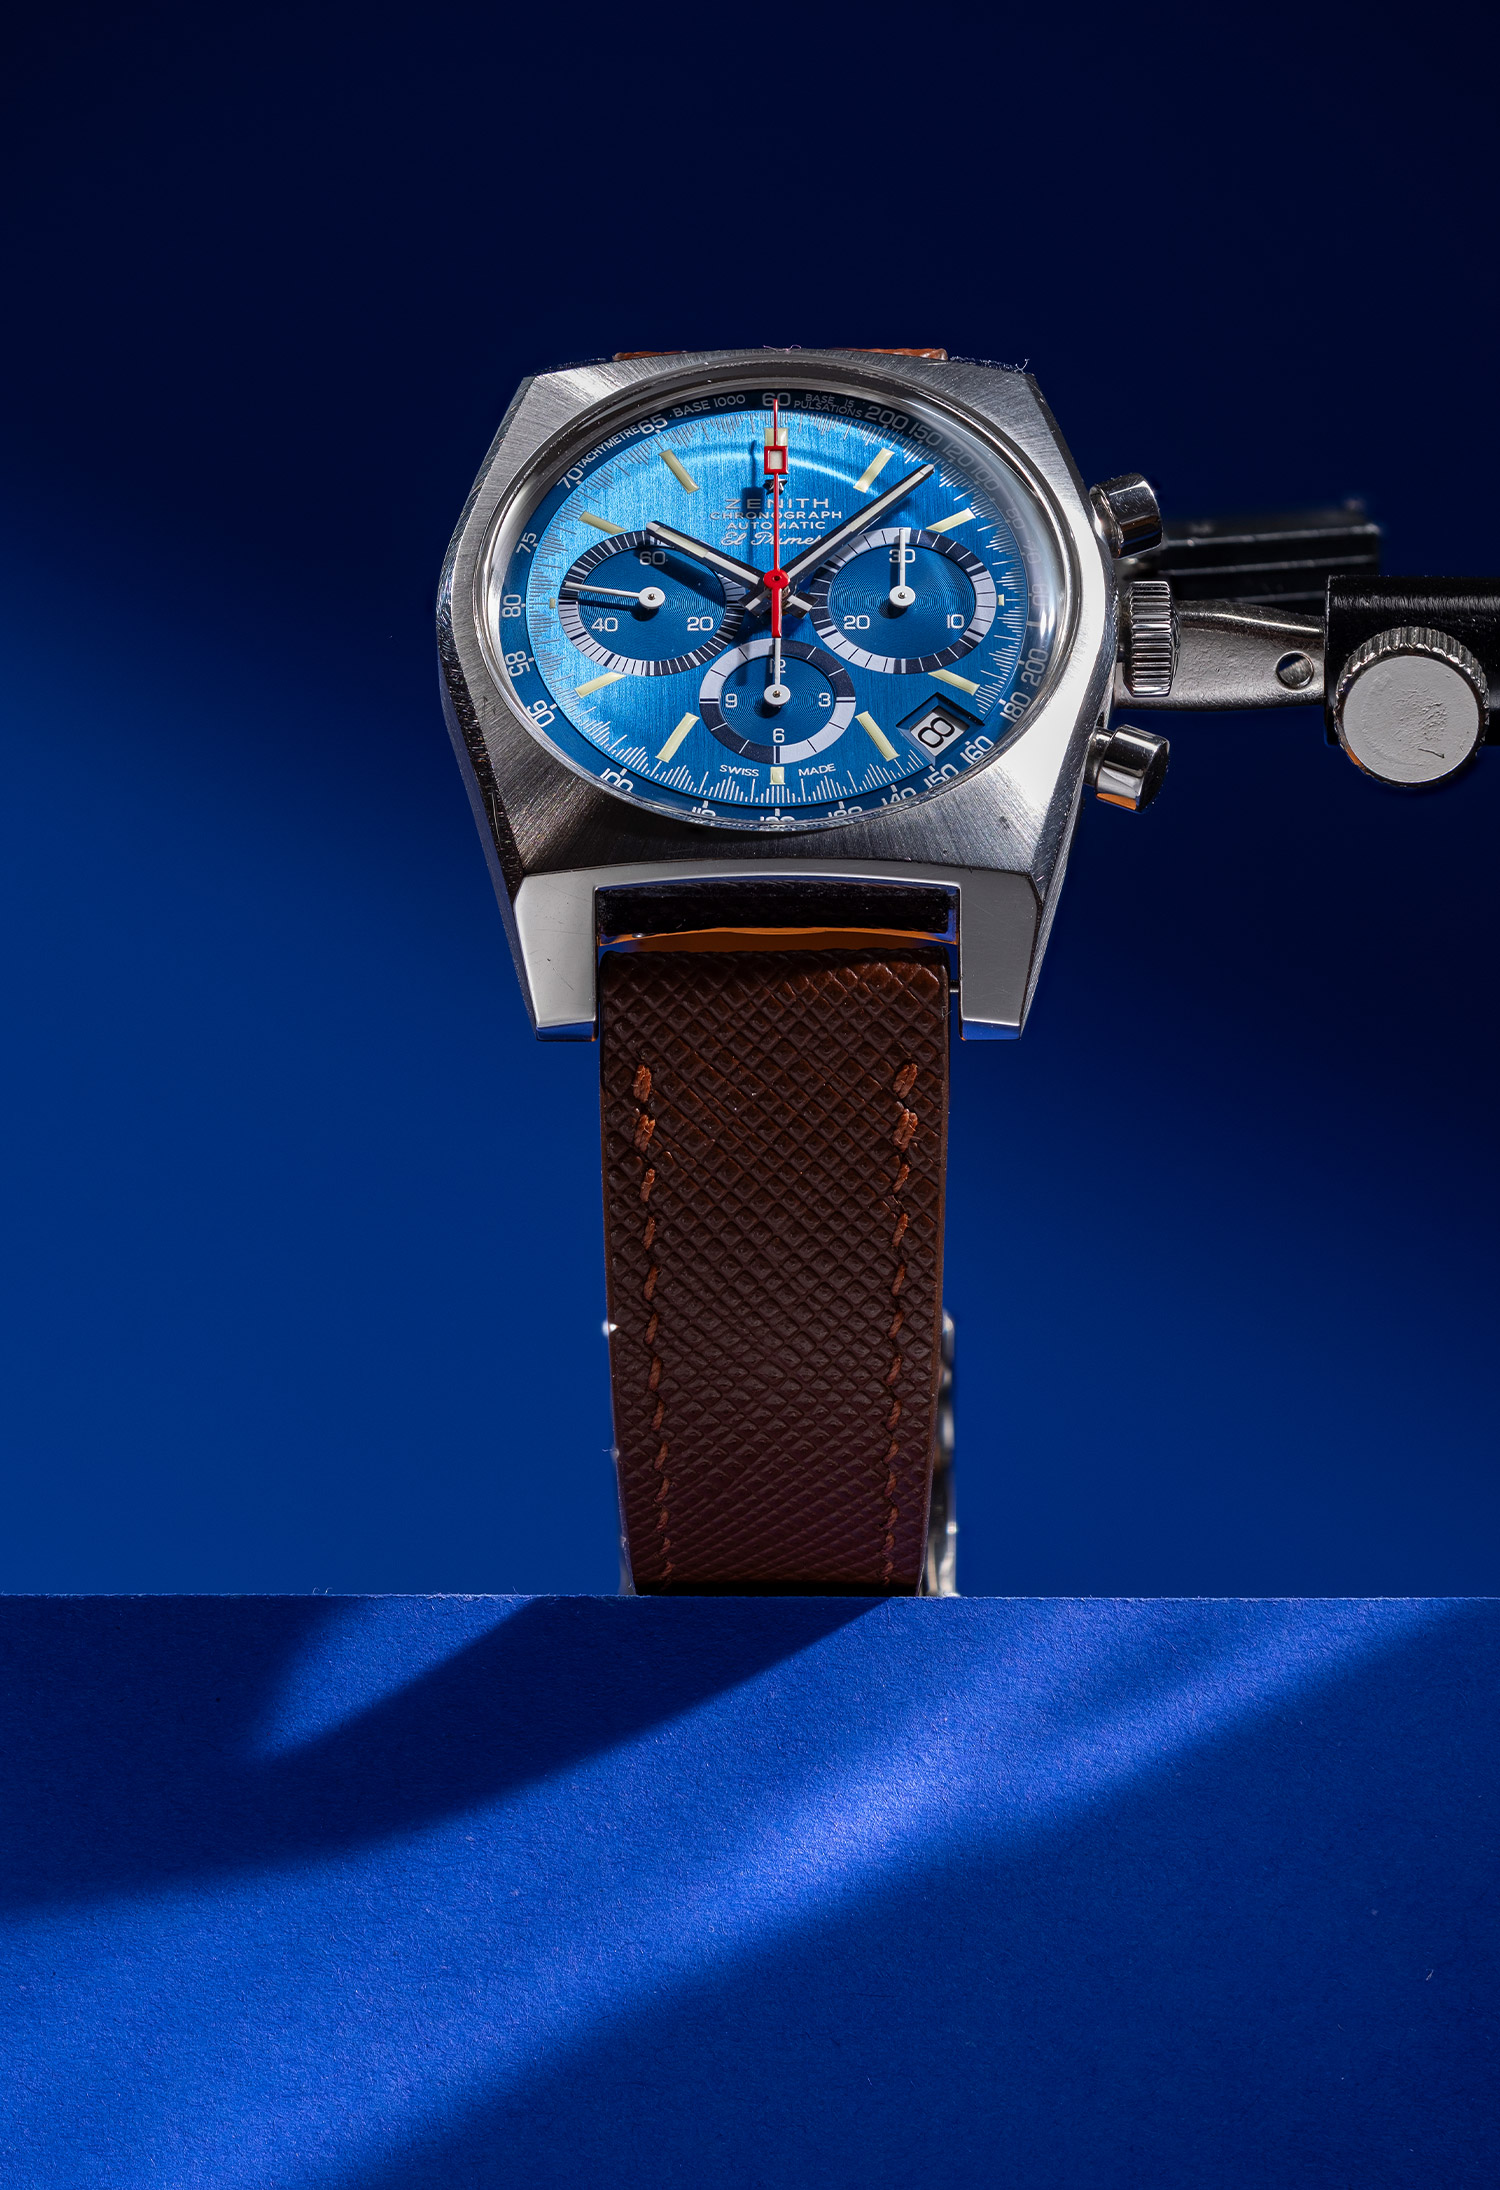
Once I found the angle I was looking for, I began experimenting with the lighting setup. I tested both diffused and direct light sources, and discovered that the best result came from combining the two. To achieve the smooth gradient on the background, I used a harsh light - this created stronger shadows and a subtle spotlight effect behind the watch. The undiffused light, reflected with the help of mirror paper, added a pleasing highlight on the paper surface in front of the watch.
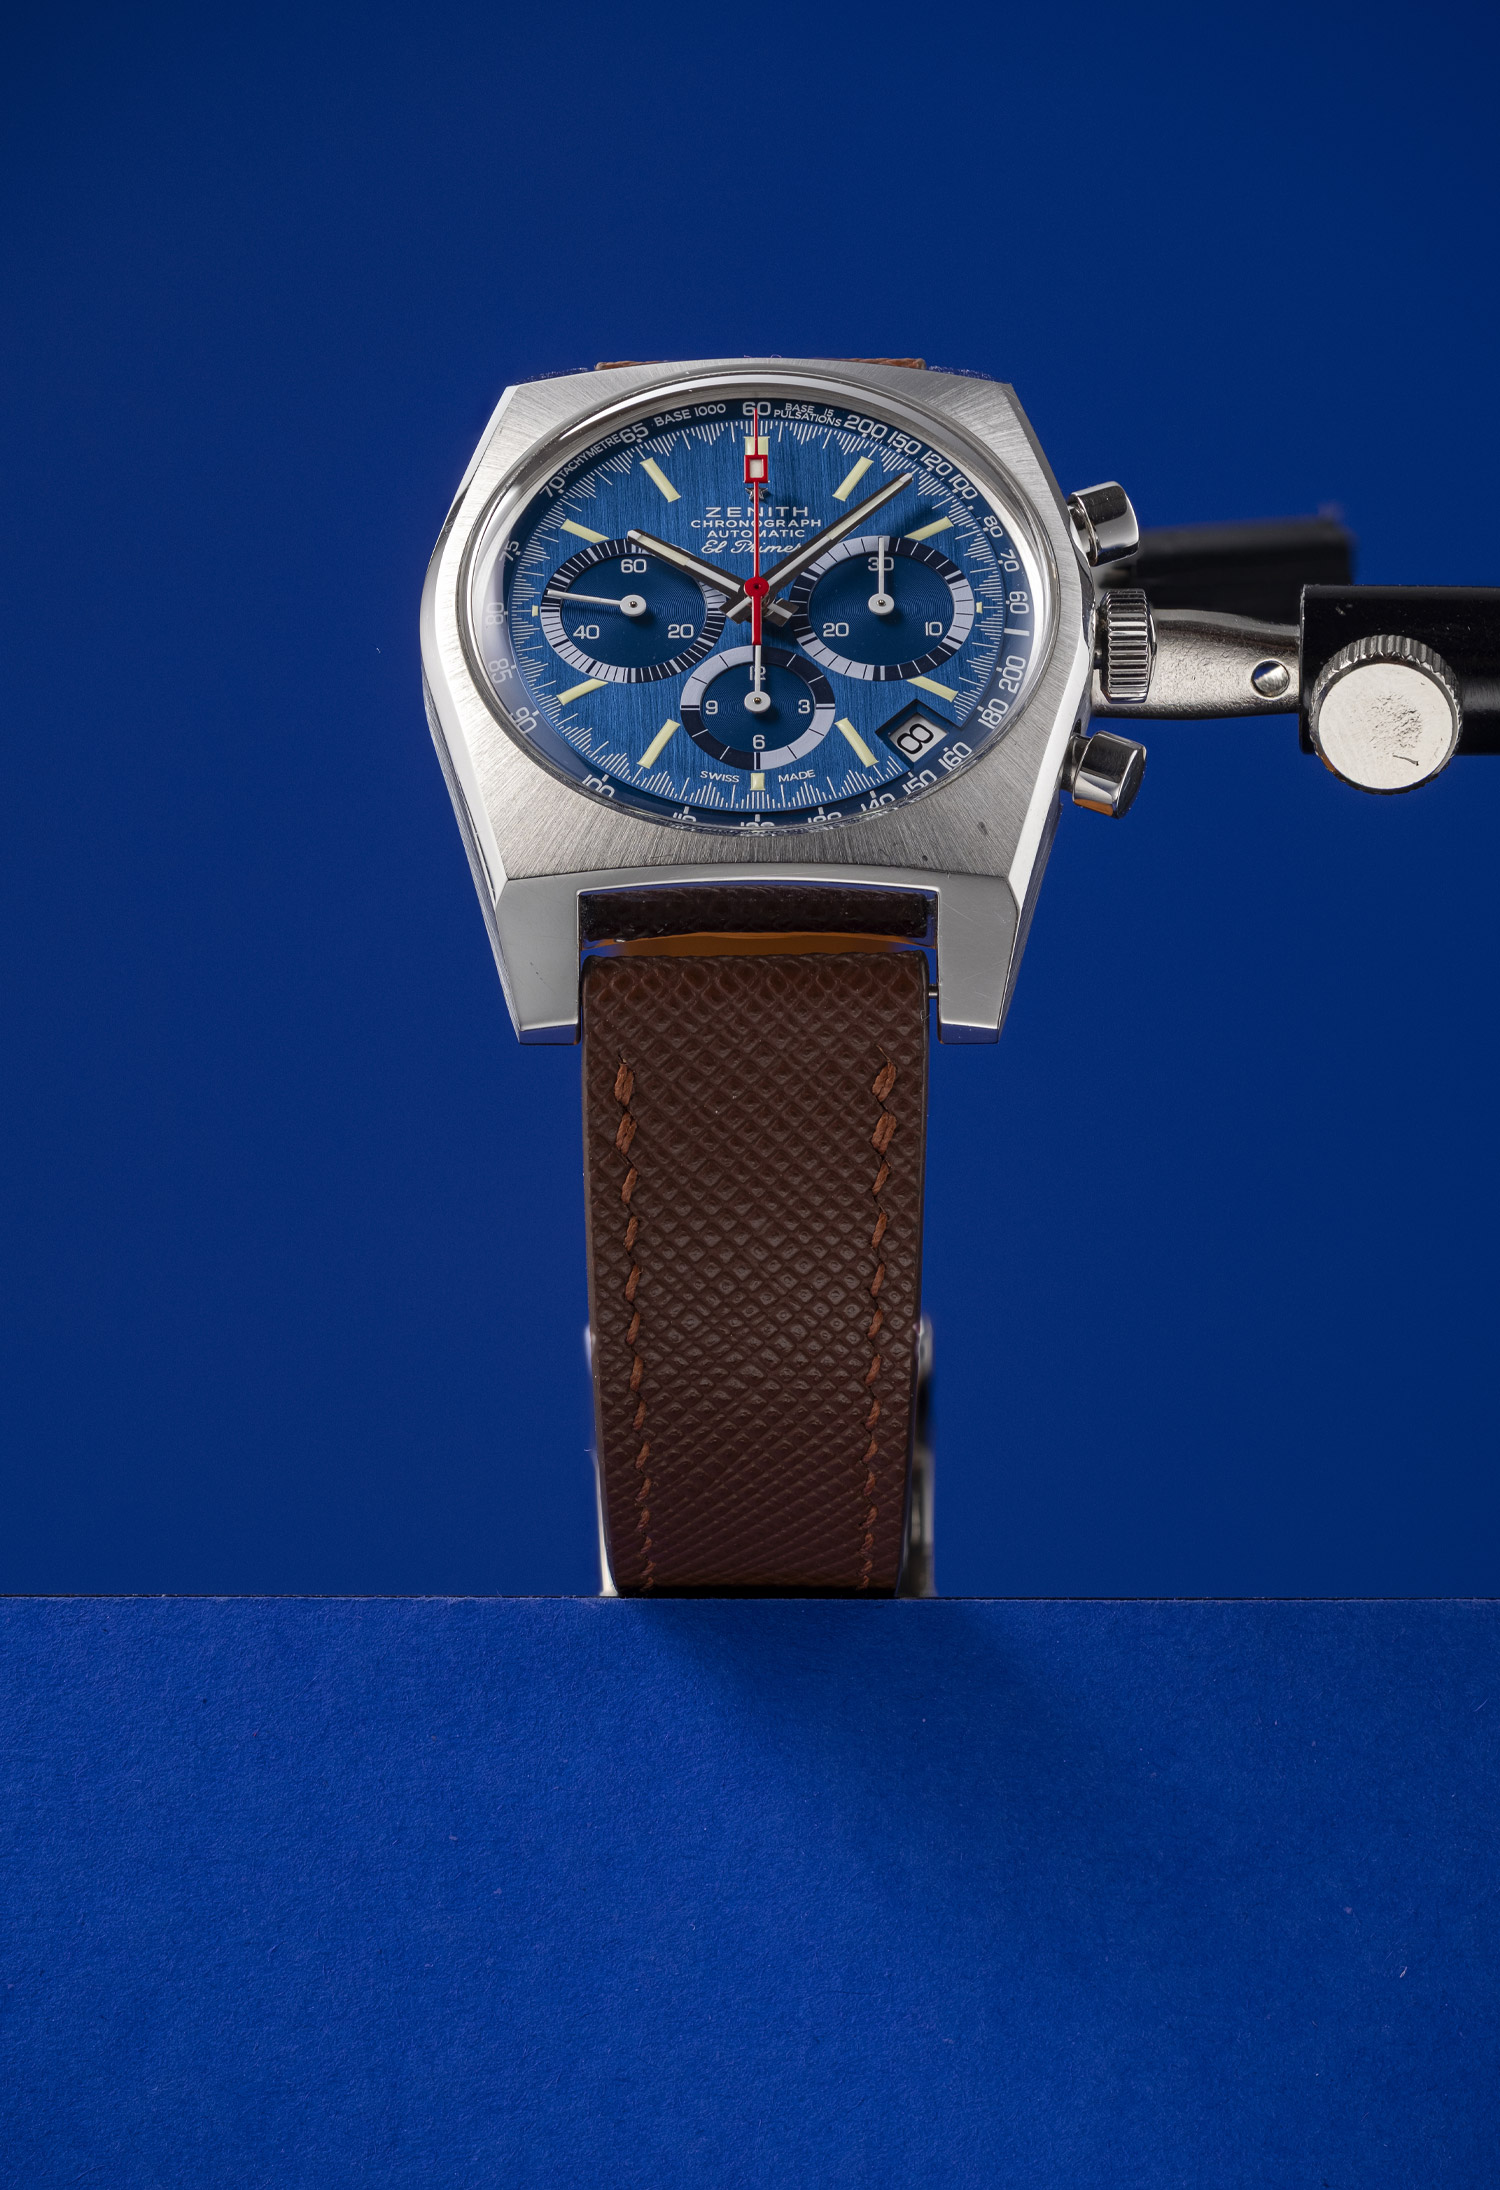
However, the harsh light was too intense for the watch case itself. To soften it, I used a LEE 216 white diffusion sheet, which produced a gentle, even illumination across the case and strap. I captured several shots under this softer setup, providing a solid foundation for compositing. For this type of image, I always use focus stacking technique, as it ensures maximum sharpness and fine detail throughout the frame.
Post-Processing and Compositing
I processed the image files in Adobe Camera Raw and used Helicon Focus to merge the focus-stacked shots. The watch was carefully cut out from the original background and placed onto a separate shot of the scene without the watch, creating a clean base for compositing. I had to cut out the watch to apply local changes to it. To enhance contrast on the strap, I blended elements from both the harsh-lit and diffused exposures. Additional gradients were applied to refine the background tone and depth. Finally, the composition was extended in Adobe Photoshop to achieve the desired wide-format framing.
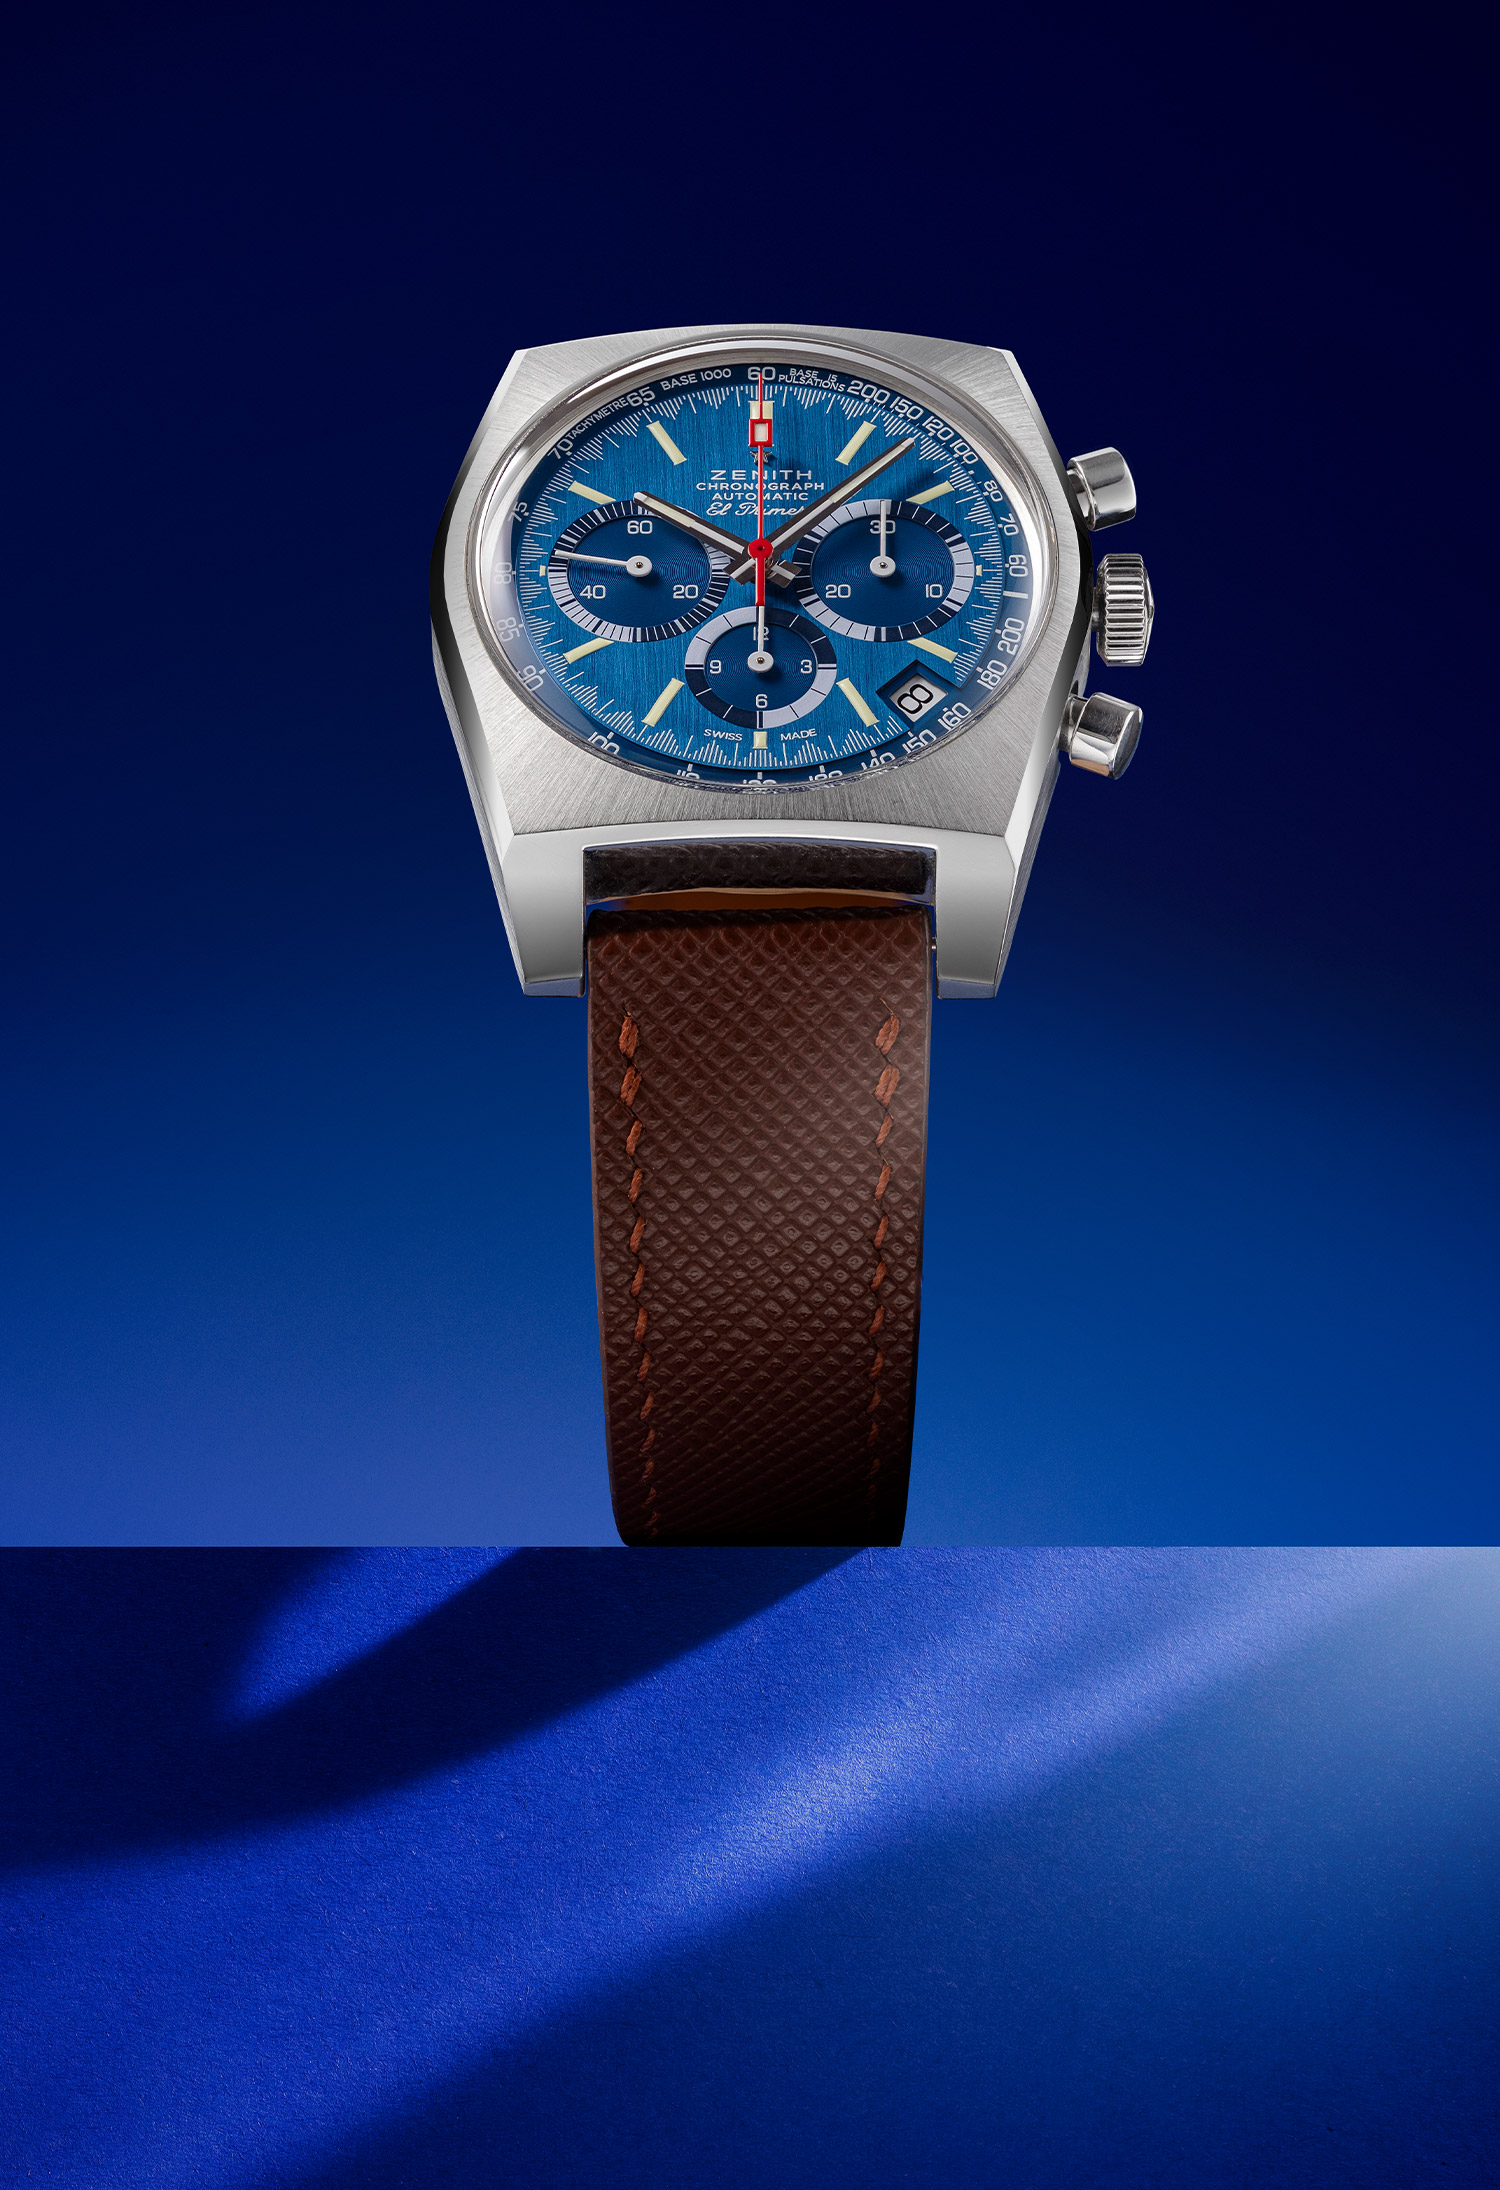
And this is how it's done!