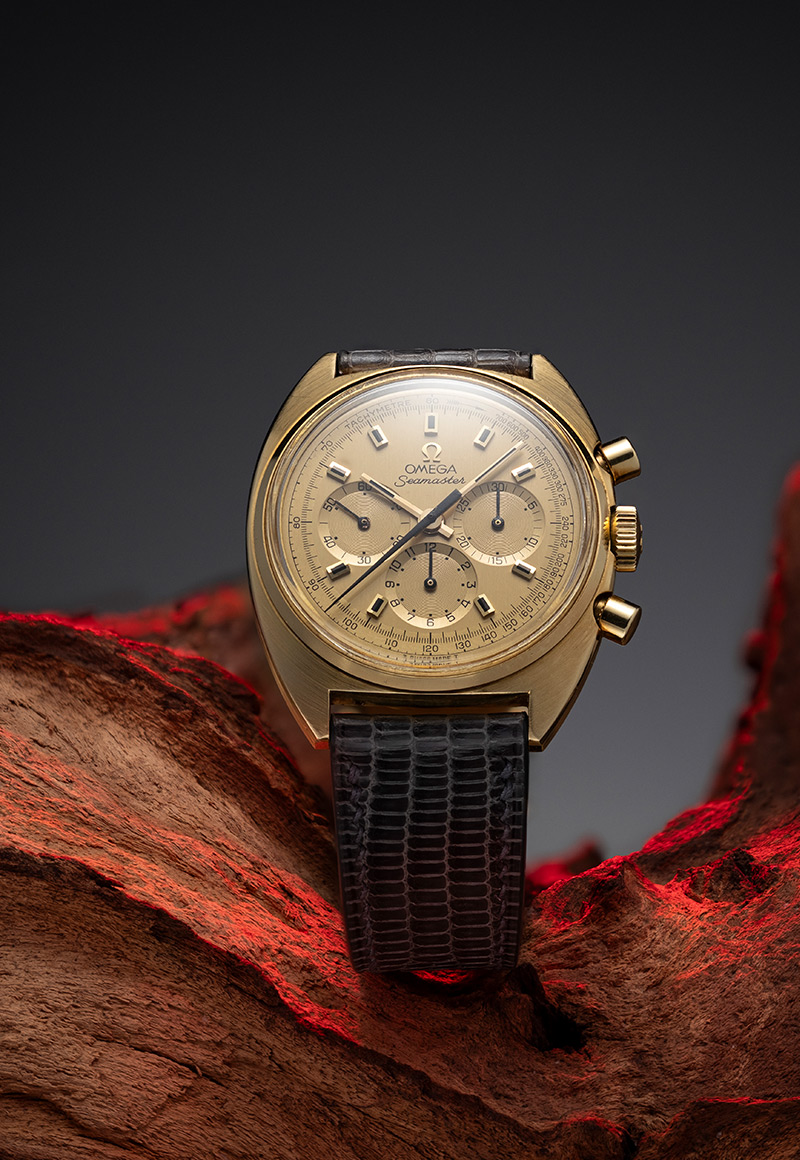
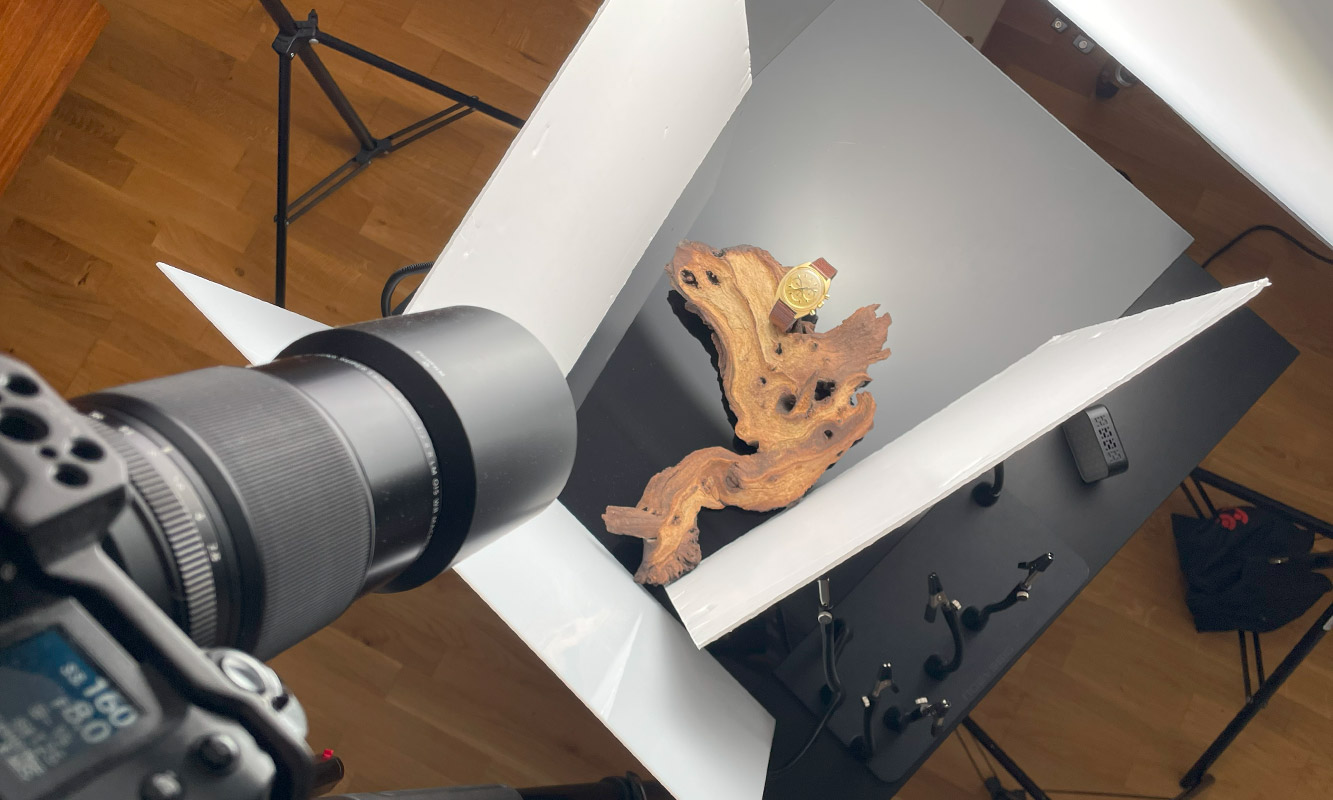
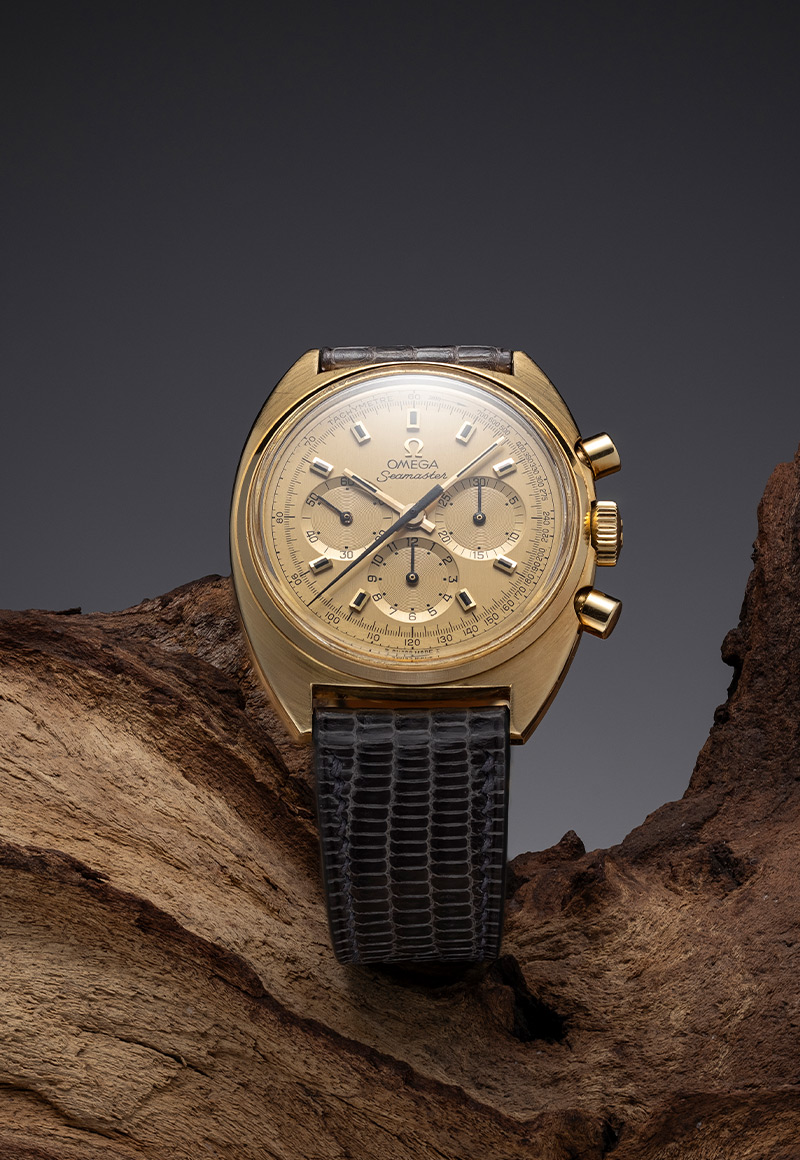
My main light was set to full power and angled down at roughly 45 degrees, positioned behind a LEE white diffusion scrim.
The distance between the light and the scrim plays a crucial role here, as it directly affects how wide and soft the gradient
reflection appears on the black glass surface. A closer light creates a tighter, more defined hotspot, while increasing the
distance produces a broader and smoother gradient.
I also moved the light through multiple positions during the shoot to find the most pleasing "center spotlight" reflection
on the glass. Even small shifts had a noticeable impact on how the reflection interacted with both the watch and the driftwood,
so this step required some trial and error.
The black glass I used had visible scratches, and to speed up the workflow in post-production, I decided to minimize their
visibility optically rather than retouching them later. I did this by using a wider aperture to blur the background slightly.
This approach reduced the visibility of imperfections while adding a subtle separation between the watch and the background.
Using a wider aperture also meant that I had to rely on focus stacking to achieve sufficient sharpness across the watch.
In the final image, you can see that the furthest parts of the driftwood remain softly out of focus, which was an intentional
choice to keep attention on the watch while still preserving depth in the scene.
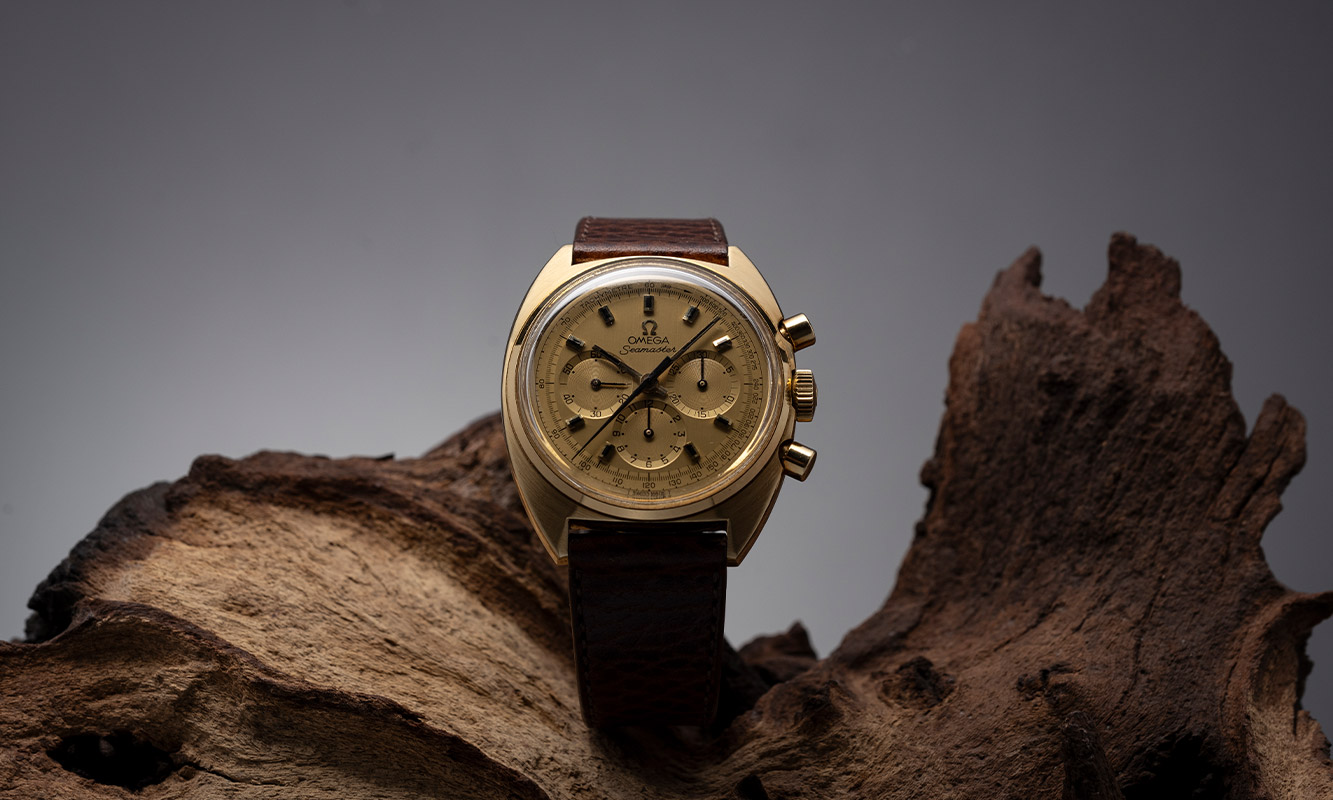
It quickly became clear that a single exposure wouldn't work for this setup. The RGB LED light used to add red accents would
also influence the exposure and color of the watch itself. To solve this, I created a composite from two separate focus-stacked
image sets. The first stack consisted of 70 images, capturing the watch and scene exactly as I wanted them to
appear in the final result.
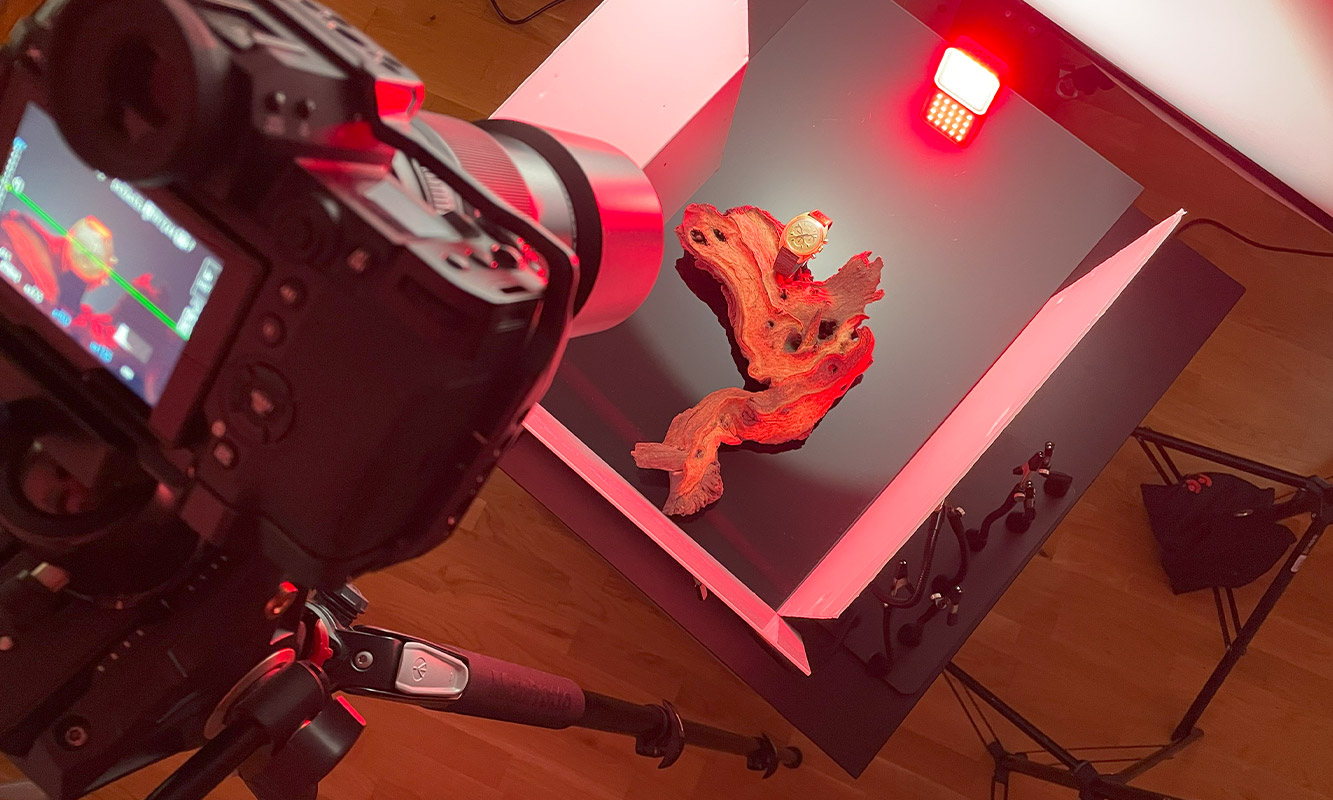
The second stack was shot with the RGB LED light positioned at the top edge of the IKEA
glass. This pass was used exclusively to "paint" selective areas of the driftwood with red light, adding atmosphere without
contaminating the exposure or color of the watch.
After capturing both image sets, I performed basic adjustments in Camera Raw.
I then used Helicon Focus to stitch the focus stacks together. While this process could also be done in Photoshop,
Helicon Focus is significantly faster for large stacks and consistently delivers cleaner results, which makes it my
preferred tool for this type of work.
