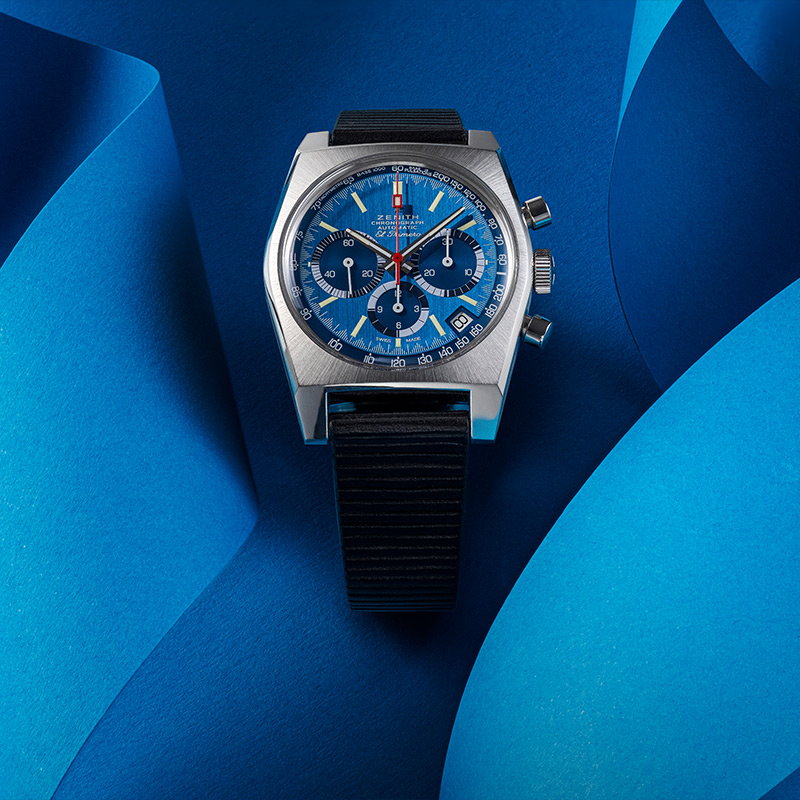
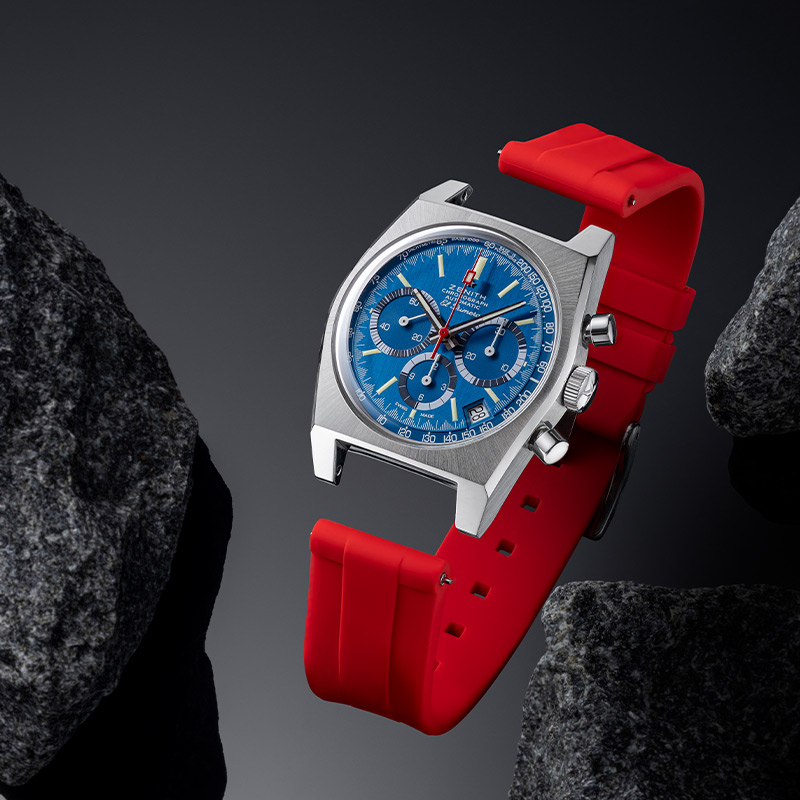
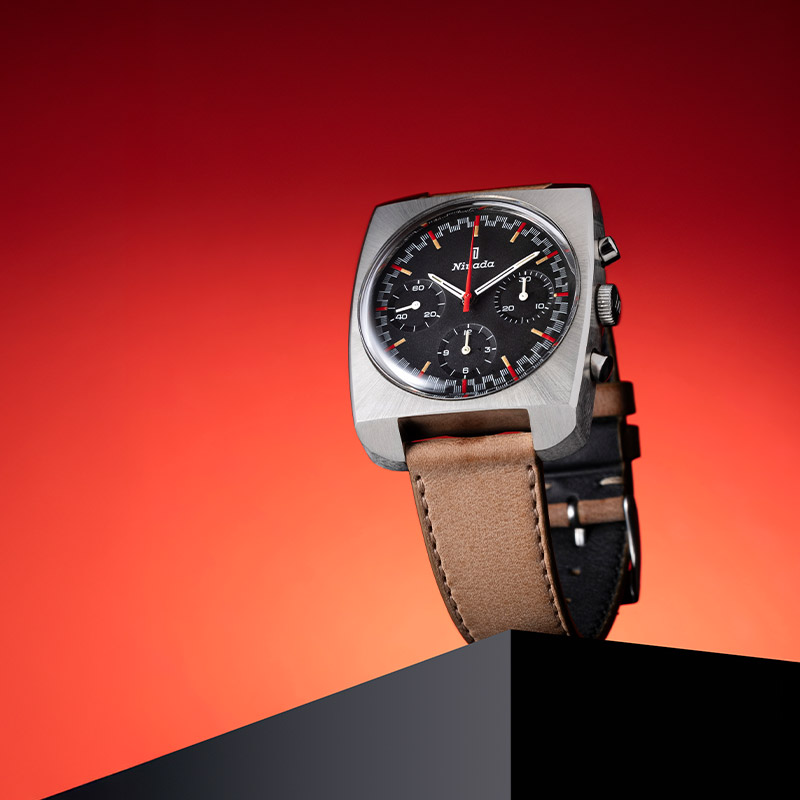
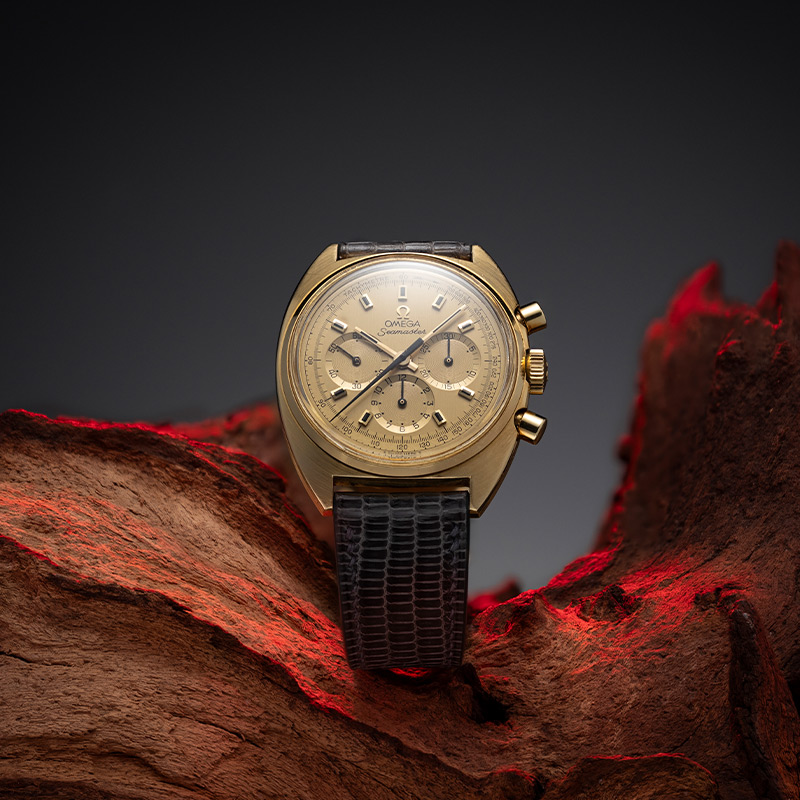
This beautiful HZ.01 watch works well with grey and blue, so I decided to use couple natural sodalite balls to bring out the best tones.
Studio setup
Gear I used - Fujifilm X-H2 camera, Fujifilm 80mm macro lens, Aputure LED 200W light, Lee white diffusion, white foam-cardboard reflectors, IKEA black glossy glass, small RBG light to create red accents, table, tripod, "helping hands" clamps, Sirui C-stand, light stands (for diffusion sheet).
I wanted to create high detailed hero photo of the watch.
I'm shooting the watch against a clean background with a few simple accessories beside it. The shot is from about a 45-degree angle using a tripod, with the main light placed at the same angle. I've chosen a black glossy glass background to create a smooth gradient effect. The watch is supported by its own weight, but I've added a follow-focus rubber gear inside the strap for added rigidity. Since the main light is positioned behind the watch, I'm using reflectors to ensure the light falls properly on the watch.
Gradient background
My main light was set to full power and angled down at 45 degrees behind a LEE white diffusion scrim. The distance between the scrim and the watch plays a key role in determining how large the gradient will appear as a reflection on the black glass.
Taking the photos of the watch
I added a couple of sodalite stone balls to spice up the scene. I also tried some photos without them. Both looked great!
When photographing a watch under a diffused light source with the dial facing the scrim, a problem arises: the diffusion reflects on the dial, causing it to look washed out. There are several ways to address this, and I opted to use a polarizer filter. When positioned the filter at the right angle, the dial cleans up perfectly, and the polarizer also enhances the glossy background significantly. Very useful.
For the best results, I used focus stacking and took two sets of 70 photos - one for the overall scene and one for the watch itself. I started by editing the basic adjustments like exposure, contrast, and highlights in Camera Raw, then stitched the JPG files together using Helicon Focus. Finally, I combined the two edited images in Photoshop.
And this is how it's done!